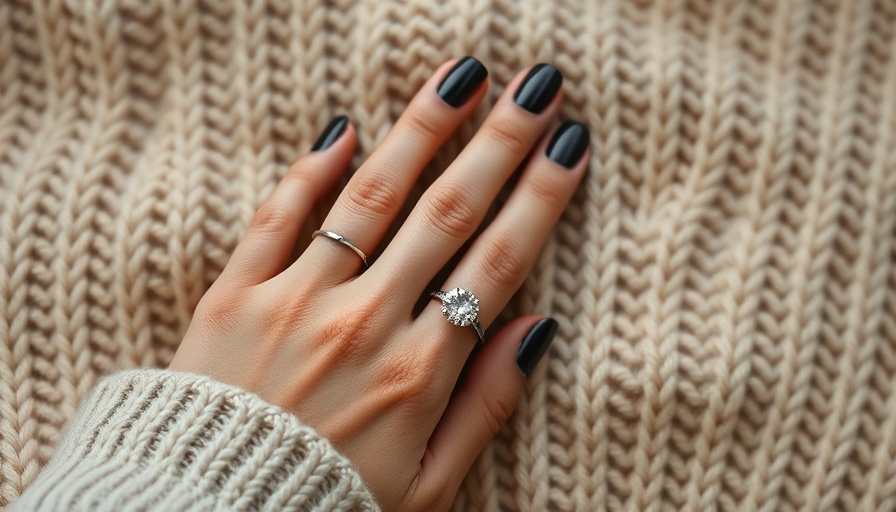
Mastering the Art of Dip Powder Nails at Home
Have you ever wished you could replicate that salon-quality manicure in the comfort of your own home? You’re not alone! Many beauty enthusiasts have discovered the joys of DIY manicures, especially with the rise of dip powder nails, which combine ease of use with long-lasting results. In this guide, we’ll dive into the expert tips for doing dip powder nails at home, step by step, helping you create stunning nails without stepping foot in a salon.
Understanding Dip Powder Nails
To start, let’s explore what dip powder nails really are. Unlike traditional nail polish, dip powder nails involve layering a bonding liquid, then dipping the nail into colored powder. The result? A robust finish that lasts for two to four weeks. Celebrity manicurist Lily Nguyen simplifies the process: “After prepping your nails, just dip and seal using the provided products in your kit.” With the right tools and some practice, you can achieve beautiful, resilient nails.
Your Essential Dip Powder Toolkit
Before you begin your DIY journey, you need the right supplies. A typical dip powder kit includes:
- Base coat
- Activator
- Top coat
- Colored powders
- Nail file and buffer
- Cuticle pusher and lint-free wipes
- Optional: fan brush for excess powder removal
With these tools in hand, you’re equipped to replicate a professional manicure right at home!
The Step-by-Step Process for Flawless Finish
Now, let’s talk about the actual application process:
- Prepping your nails is crucial—gently push back your cuticles, shape your nails, and buff them for a smooth surface.
- Apply a thin layer of base coat and immediately dip your nail into the colored powder. Repeat this step until you reach your desired color depth.
- Seal it with an activator followed by a top coat to lock in your work and add shine.
- Finally, let your nails dry completely, avoiding any water or moisture for a few hours.
Following these steps carefully will ensure a salon-quality look that lasts.
How to Remove Dip Powder Nails Safely
One of the most critical aspects of nail health is removal. To ditch your dip powder, soak your nails in acetone. Unlike traditional methods, dip powders can take 30 minutes or more to dissolve properly.
Hanna emphasizes: “Avoid the temptation to force removal, as doing so will weaken your natural nails.” Proper soak-off techniques will ensure your nails remain healthy and strong.
Addressing Common Concerns About Home Application
Doing your nails at home often raises questions about safety. Is it safe? Nguyen assures us that, with proper sanitation and technique, you can safely apply dip powder nails without a hitch. She advocates for the pour-over method, avoiding cross-contamination. “Instead of dipping multiple fingers into the same jar, pour the powder over your nails to maintain hygiene.”
While dip powder is an exciting trend, keeping up with proper practices is essential for maintaining nail health.
Final Thoughts on DIY Dip Powder Nails
Incorporating DIY dip powder nails into your beauty routine can be empowering and saves money in the long run. With the right tools and expert tips at your fingertips, you can create stunning nail art and manicures right at home. Dive into the world of dip powder, and let your creativity shine!
Ready to Start Your Manicure Journey?
With this guide, you now have all the knowledge you need to attempt your first dip powder manicure at home. Embrace this ongoing beauty trend and enjoy the unique benefits that doing your nails offers. So grab your kit, get creative, and transform your nails today!
 Add Row
  Add
Add 


Write A Comment